Mastering Natural and Artificial Light for Product Photography
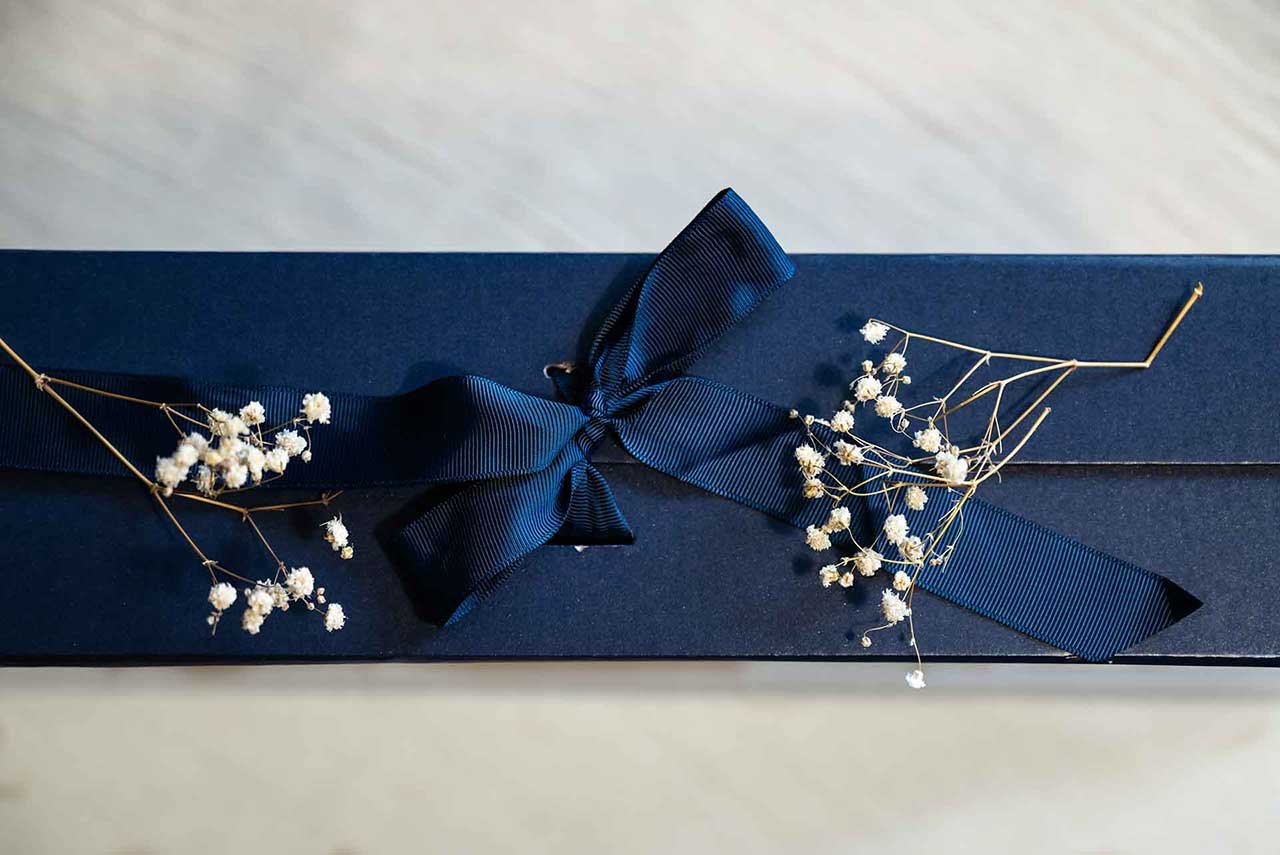
As basic as it sounds, the quality of light gives the quality of your photos. Mastering product photography implies mastering light; therefore, it is required to understand how natural and artificial light works. Whether we’re talking about shooting with daylight or flash units and other lighting equipment, the choice of light source plays a vital role in the outcome of your photos.
Using artificial light versus natural light in product photography
Now, how do you know when to use artificial light versus natural light in product photography?
Natural light is my preferred source if available, as it’s easier to work with, without having to worry about extra equipment. However, artificial light is a lot more versatile and reliable, especially in this typical British weather which sometimes cannot be trusted.
I have made an extensive list of aspect to consider when choosing between natural and artificial light. I will present some of them in this article, therefore if you’d like to know more, keep reading.
Consistency & control: Choosing between natural and artificial light
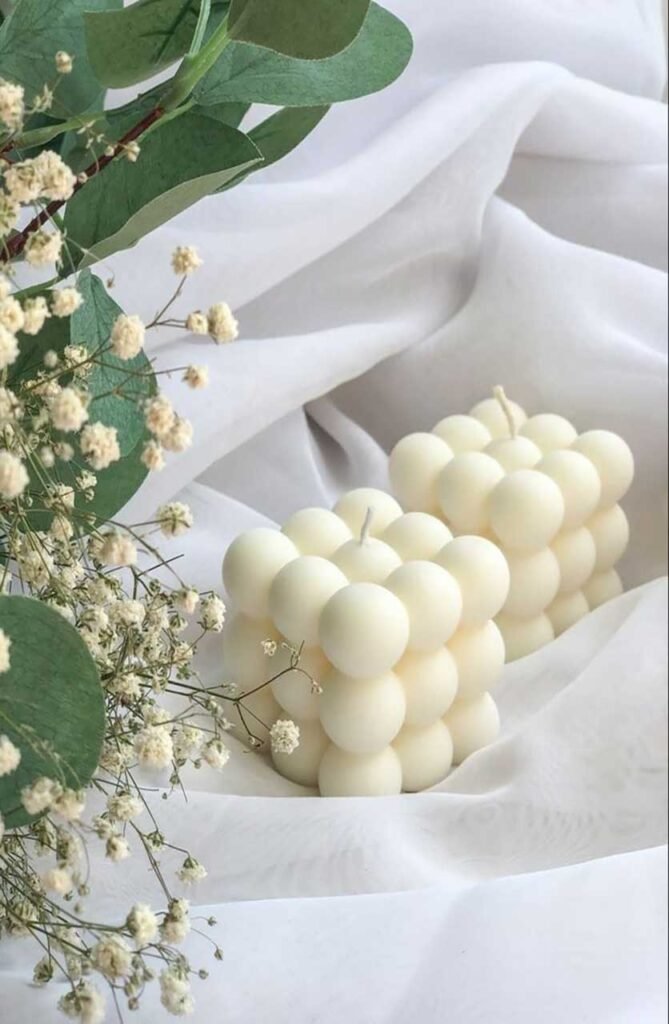
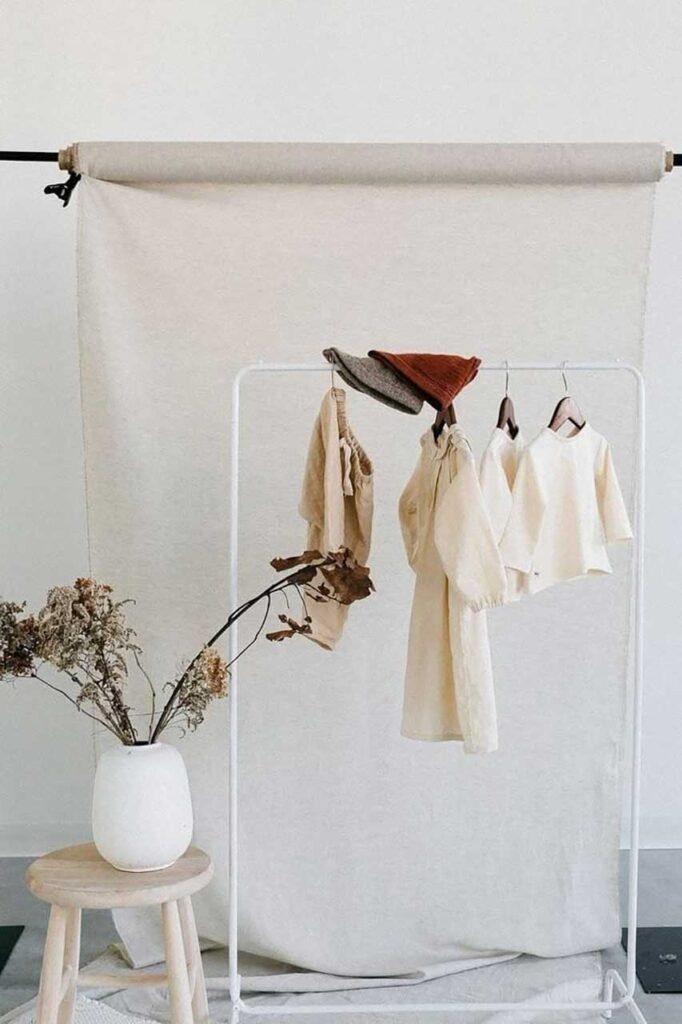
Indubitably, you have more control when using artificial lighting techniques. You can decide the angle, the light intensity and the level of diffusion needed. You’re not reliant on the weather, and you are more flexible to create your desired background and space for shooting the products.
As a commercial photographer, being consistent is key when choosing your best lighting source. However, if you’re an UGC creator for example and you work on a personal project, natural light might be sufficient. Choosing this option is also cheaper because you don’t have to invest in different pieces of equipment such a flash, light diffusers and other bits.
Also, trying to maximise the natural light available is an important skill as a content creator or product photographer. It is true though that mastering natural light takes time and practice but is all worth it.
Location, timing & mood: Factors that influence your lighting choice
Another aspect to keep in mind is the location and the time you are photographing the products. Do you have access to at least one window in the room? Do you need strong sunlight, or can you work on a cloudy day? What type of product are you shooting? What mood are you trying to achieve?
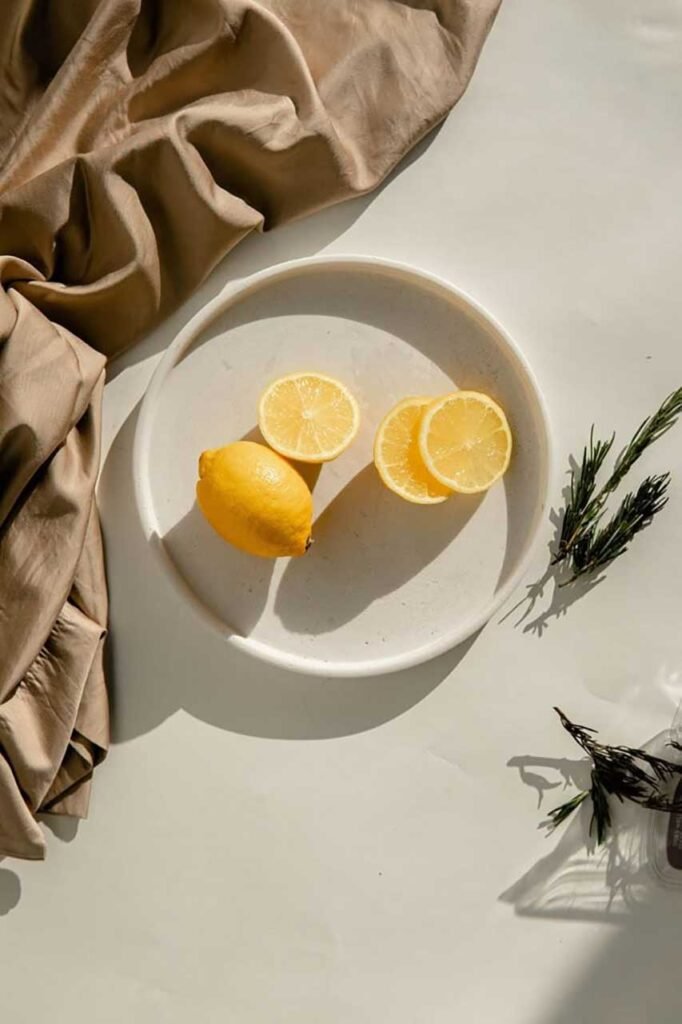
Also, keep in mind the season. Summer days are a lot longer than winter days, so you might struggle to shoot in the afternoon during cold weather. You might have heard of golden hour, shortly after sunrise and before sunset, which offers a particularly soft and warm, reddish light.
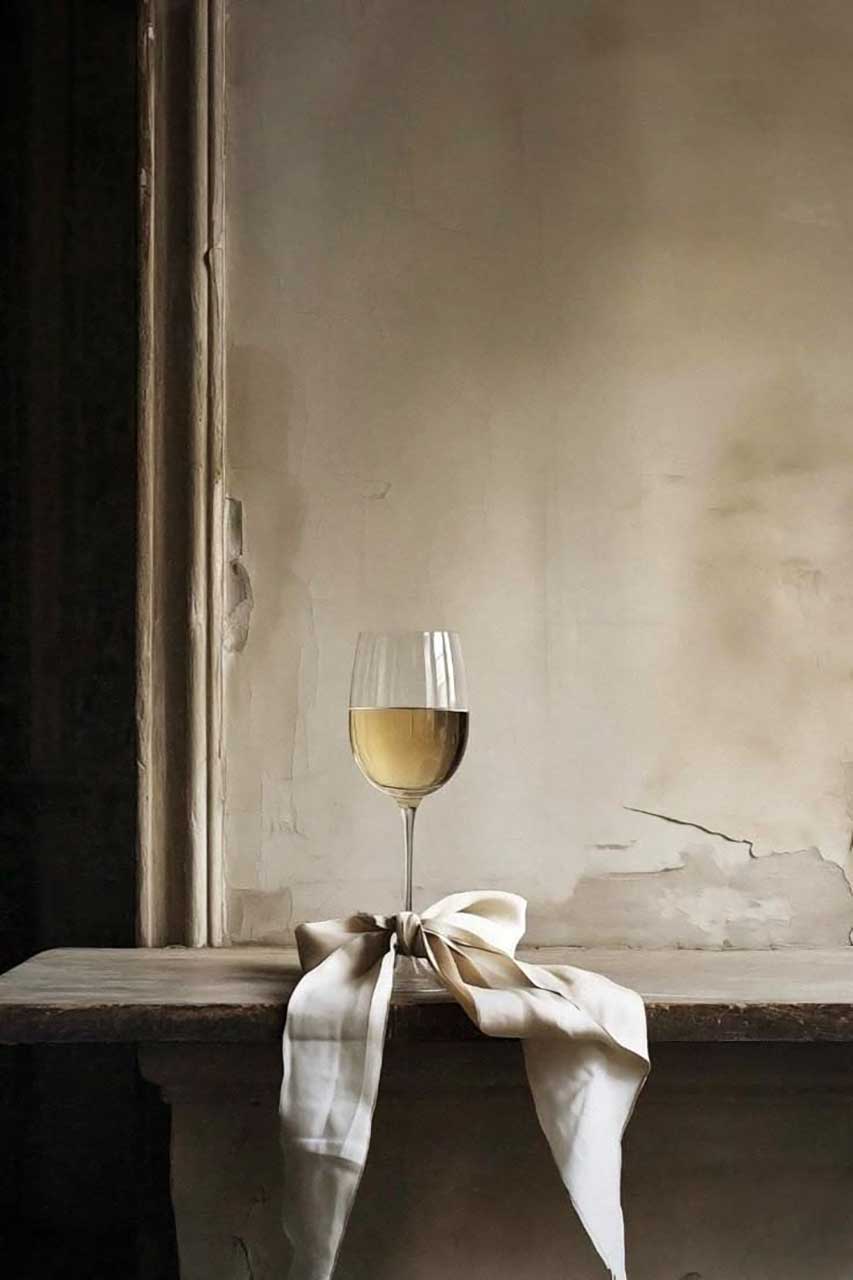
However, if you’re trying to capture a product within a moody settling and atmosphere, a darker and vintage vibe might be suitable for you, and you don’t need a lot of light. For example, you’re planning to showcase a restaurant product used mainly for dinner. In this case you might choose to use some candles to create a more intimate environment.
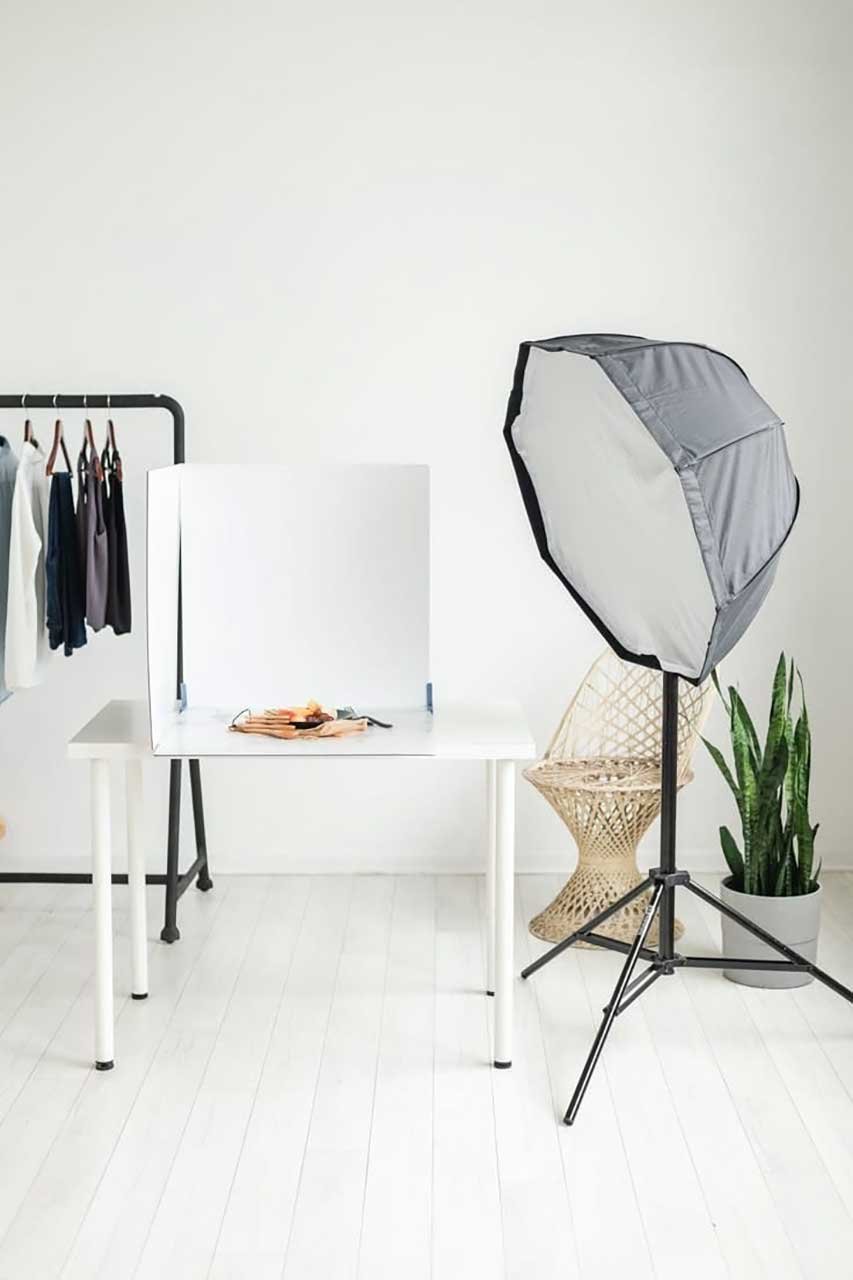
If you’re using a studio, considering artificial light is an option?
If you’re using a studio, considering artificial light will give you more flexibility to create the best images. Softening the light is also extremely important. Using a translucent diffuser is a great way to filter the light, perfect for avoiding harsh shadows or highlights. You want your photos correctly exposed, to make sure you keep as many details as possible.
Brand style & story: Aligning your lighting with the desired aesthetic
When choosing the light source, you also need to keep in mind the story and style of the brand you’re working with. If the brand style is based more on a lifestyle appearance, a candid style might be more suitable for what you need to create. This means you might prefer to choose natural light instead of artificial light. Understanding what the brand wants from you is mandatory as this will define the style and will help you choose the appropriate source of light.
But if the brand style is not casual, and you need precise light, what type of artificial light should you choose? This depends on what you are trying to achieve. In product photography, controlled lighting is important to bring out the best in details and textures. Both flashlight and continuous light are suitable here, whereby the colours of the products can often appear more contrasty and brilliant with flashlight.
Continuous light, on the other hand, enables immediate visual control and adjustment of the lighting setup, which can be particularly advantageous for those who don’t have so much experience in product photography.
In conclusion, the decision to use daylight or artificial lighting is highly influenced by the needs of the shoot. Daylight provides a natural lighting environment and allows for photography with minimal equipment or assistance.
On the other hand, artificial light enables photography regardless of weather and time of day, providing consistent illumination. When choosing artificial lighting, flash lighting provides superior performance for action photography, dynamic portraits, and images with pronounced shadows.
Conversely, continuous lighting allows photographers and videographers to utilize open apertures and directly manage the lighting, making real-time adjustments as needed. Continuous light is ideal for beginners. Understanding the strengths of these three light sources enables you to choose the best lighting for your next photo project.


